

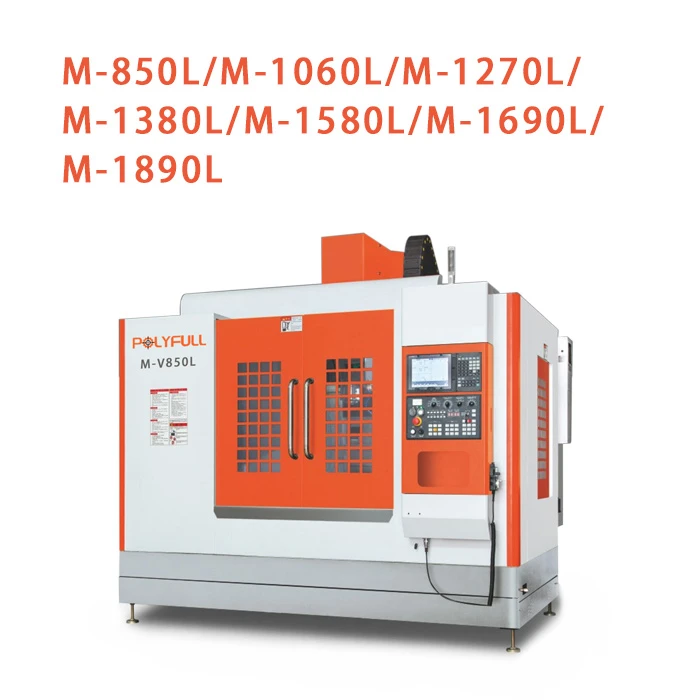
Hey there! If you're into the world of precision machining, then you're probably eyeing a linear rail CNC machine. Well, you've come to the right place. I'm a supplier of Linear Rail CNC Machines, and I'm gonna walk you through the process of installing one.

Why Choose a Linear Rail CNC Machine?
Before we jump into the installation process, let's quickly talk about why linear rail CNC machines are so awesome. Linear rails offer smoother movement, higher precision, and better repeatability compared to traditional systems. They can handle high-speed operations without sacrificing accuracy, making them ideal for a wide range of applications, from woodworking to metal fabrication.
What You'll Need
First things first, gather all the necessary tools and materials. Here's a basic list:
- Tools: A set of wrenches, screwdrivers (both flathead and Phillips), a drill, a level, and a measuring tape.
- Materials: The linear rail CNC machine itself, of course! You'll also need mounting brackets, bolts, nuts, and washers. Make sure to check the machine's manual for the specific requirements.
Pre-Installation Checks
Before you start installing the machine, it's crucial to do some pre-installation checks.
- Inspect the Machine: Carefully examine the machine for any damage that might have occurred during shipping. Look for dents, scratches, or loose parts. If you find any issues, contact the manufacturer or your supplier right away.
- Choose the Right Location: Find a suitable location for your CNC machine. It should be a clean, dry, and well-ventilated area. The floor should be level and able to support the weight of the machine. Avoid placing the machine near sources of heat, moisture, or vibrations.
- Check the Power Supply: Make sure the power supply in your chosen location matches the requirements of the CNC machine. Check the voltage, frequency, and amperage. It's also a good idea to use a dedicated circuit to prevent power fluctuations.
Step-by-Step Installation Process
1. Unpacking and Assembly
- Start by unpacking the machine and all its components. Lay them out in an organized manner so you can easily access everything.
- Refer to the assembly manual provided by the manufacturer. Usually, you'll need to attach the linear rails to the machine frame using the mounting brackets. Make sure to tighten the bolts securely, but don't over-tighten them as it could damage the rails.
2. Mounting the Machine
- Once the rails are attached, it's time to mount the machine on the chosen surface. Use the level to ensure that the machine is perfectly horizontal. This is crucial for accurate machining.
- Drill holes in the surface according to the mounting holes on the machine frame. Insert the bolts through the holes and secure them with nuts and washers. Double-check the level after each step to make sure the machine remains straight.
3. Connecting the Electrical Components
- This is a critical step, so make sure you follow the wiring diagram in the manual carefully. Connect the power supply, motors, controllers, and any other electrical components.
- Use wire connectors or soldering to ensure a secure connection. Avoid loose wires as they can cause electrical problems or even pose a safety hazard.
4. Installing the Software
- Most CNC machines come with their own software for programming and controlling the machine. Install the software on your computer according to the instructions provided.
- Connect the machine to your computer using the appropriate cable. Make sure the connection is stable and that the software can communicate with the machine.
5. Calibration
- After the machine is installed and the software is running, it's time to calibrate the machine. This involves setting the correct coordinates, speeds, and feeds for your specific application.
- Follow the calibration procedure in the manual. It usually involves moving the machine to specific points and adjusting the settings until the machine moves accurately.
Testing the Machine
Once the installation and calibration are complete, it's time to test the machine. Start with a simple test piece to make sure everything is working properly. Check the movement of the machine, the accuracy of the cuts, and the overall performance. If you encounter any issues, refer to the troubleshooting section in the manual or contact your supplier for assistance.
Related Products
If you're interested in other types of machining centers, we also offer some great options. Check out our 3 Axis Vertical Machining Center, which is perfect for a variety of machining tasks. We also have the Fixed-column type vertical machining center and the High Rigidity 2-Wire 1-Hard Machining Center, both of which offer high performance and reliability.
Conclusion
Installing a linear rail CNC machine might seem like a daunting task, but with the right tools, materials, and instructions, it's definitely doable. Remember to take your time, follow the manual carefully, and don't hesitate to ask for help if you need it. If you're considering purchasing a linear rail CNC machine or have any questions about the installation process, feel free to reach out to us. We're here to help you make the most of your machining experience.
References
- Manufacturer's manual of the linear rail CNC machine
- Industry standards and best practices for CNC machine installation